Google Meet has several interactive features that are very useful for running classes: polling, moderated Q&A, breakout groups, and host controls. Meet has distinct advantages for Champlain faculty and students because we already use other Google tools like Drive and Calendar.
Note: this article’s illustrations are now slightly dated, and what you see on your screen may vary. You may also find additional host features that were not available at the time of writing.
Finding the Features
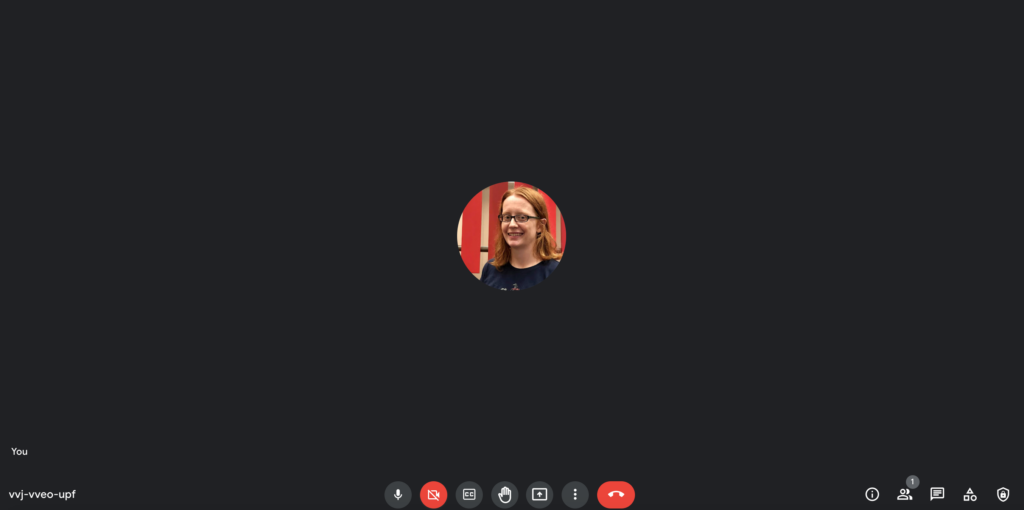
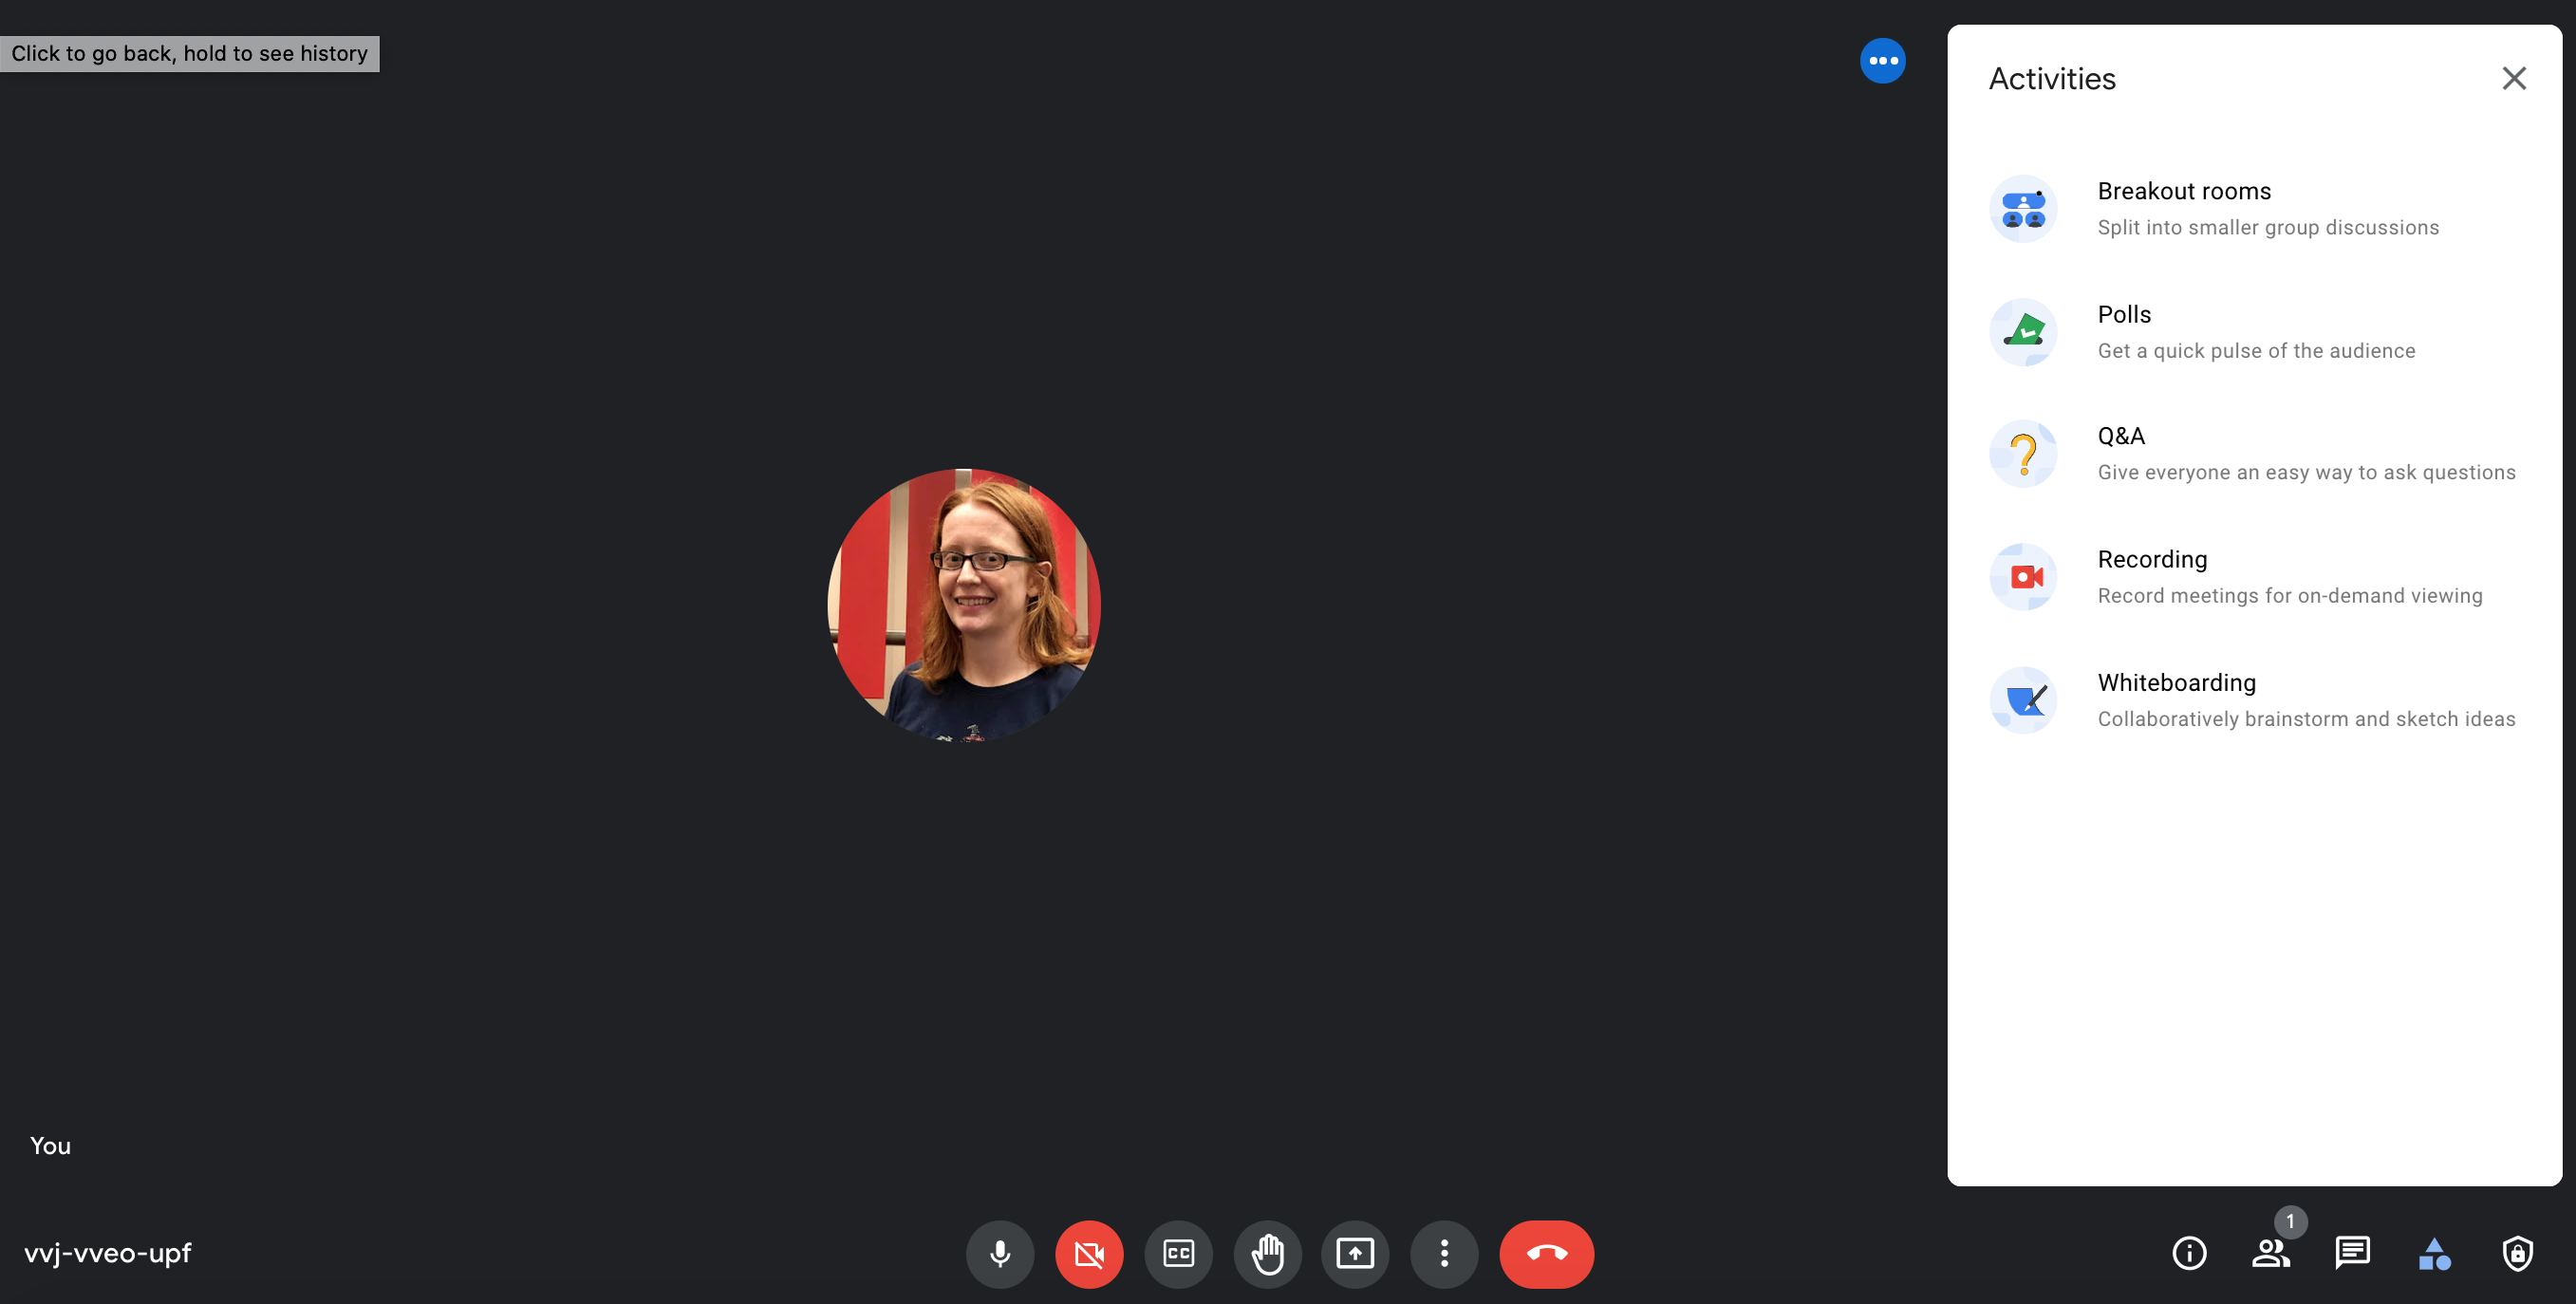
Polling, Q&A, and breakout rooms (referred to here as “in-call tools”) are all found by clicking on the small geometric shapes symbol in the lower right corner during a Meet call.

Clicking on the geometric shapes icon reveals the breakout rooms, polling, Q&A, recording, and whiteboarding tools:

Below we will explain how the breakout rooms, polls, and Q&A tools work. (Note that any user in the call can see this sidebar, but with the exception of answering polls or posting questions, only the host can control the tools.)
If you are not able to access these features following the above instructions, or you do not see the geometric shapes icon in a meeting you are hosting, please contact Champ Support for assistance with your account. (These premium features may not be available for Champlain users who are not current instructors in campus-based programs.)
Breakout Rooms
Breakout Rooms are the first item in the in-call tools menu. When you click the item, you’ll be given a list of options, including how many groups you want to create, and a button to actually start the rooms. Meet will randomly sort participants into breakout groups and leave the host in the main call. However, the host has the ability to manually move participants from one room to another by dragging and dropping their names. You can also edit the groups during the call if you want to mix things up. There is not an option to pre-load a list of groups; however, if you close the rooms, Meet will save the groups so you can reopen them later in the call or on a future call that uses the same link (e.g., a recurring Meet you have created in Calendar and invited your students to). Protip! You can open the call any time before the designated time, and you will be able to set up the groups however you like as long as you have invited all your students and they have all RSVPed yes. Make sure everyone RSVPs at the beginning of the semester so you have this option.
Once the host has set up the rooms as desired, they can open them. Participants will receive a message asking them to click to join their assigned room. Anyone who does not click will remain in the main call along with the host.
While breakout rooms are running, the host can see where everyone is, as in the screenshot below:
The host can easily hop from one room to another. Participants can return to the main call, but not jump to other rooms.
Within the breakout rooms, the call works almost exactly like any other Meet call. Unless chat and screensharing are disabled, participants have those abilities. The chat in a breakout room is not saved after breakout rooms end. The chat in the main call does not broadcast to the breakouts (Meet does still lack the “broadcast” feature in Zoom that you can use to communicate with everyone at once during breakouts).
When the host is ready to end the breakouts, they simply click “close rooms” in the sidebar. Participants will receive a popup to click on to return to the main call. If they do not click the link, they will be automatically returned to the main call after a set amount of time (about a minute), giving them time to wrap up their thoughts.
Note that Meet does not have an option to change the host or designate a co-host, so as the faculty member, you will need to make sure that you are the one who creates the Meet. (In most cases, this will not be an issue since you are creating the Meets in advance anyway, but if you have a guest speaker, you will need to manage breakout rooms and all the other in-call tools for them.)
For further information on running breakout rooms, check out Google’s instructional materials.
Polls
The simple integrated polling tool allows you to ask multiple-choice questions during a call. You can find polls in the same menu as breakout rooms, and clicking the link will start the process of creating and activating a poll:
You can create as many polls as you like. Google provides further instructions about Meet polls. Clicking “launch” will make them available to participants immediately. However, you may wish to create polls in advance (for example, while students are busy in a breakout room) and launch them later. If so, click save. Protip! If you want to create your polls before class, you can start the Meet at any time, create your polls, save them, and hang up the call. They will still be there when you open the call at class time. For this to work, you must use the same Meet link. The polls are saved specifically in that call.
When you are ready to launch your poll question, you will see an option to make results visible to everyone. This is turned off by default, but you should click the slider to turn it on if you want students to be able to see the aggregated responses (they will not see who answered what).
All data from the poll will be saved, and you will receive it as a Google Sheet via email after the call ends, making this a great way to assess attendance and participation without having to make notes during the Meet.
Q&A
The Q&A feature allows participants to submit questions in a designated area, preventing them from getting lost in the chat. Participants can also see each other’s questions and upvote them, allowing you to identify high-priority questions. You can then mark them as answered. You can also hide or delete disruptive questions.
The Q&A feature is found in the same in-call tools menu (the geometric shapes icon) as breakout groups and polls. Make sure you turn it on the first time you open the call so you and students can access it. Most users will find it reasonably easy, and detailed instructions are available from Google’s support resources on Q&A.
You can also use Q&A to pose questions to your students, but (despite the name) it does not provide a mechanism for them to answer. In most cases, if you are asking a question, it is better to use polls or simply ask your question verbally. An exception might be if you had several possible discussion questions or points in mind and you wanted to see what was more exciting to students. You could post each question separately and let them upvote the ones most interesting to them.
Host Controls
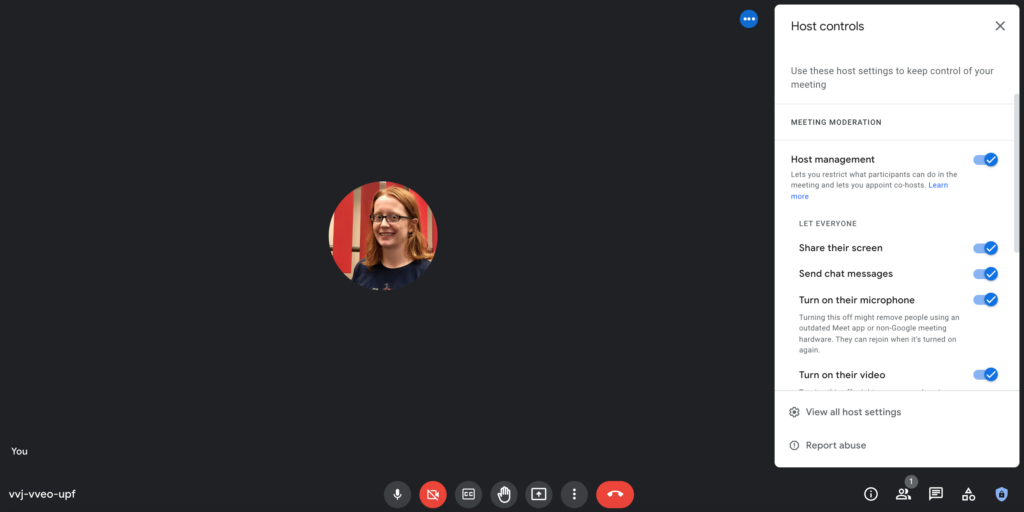
Meet also has controls that can help prevent “zoom-bombing,” or simply limit the capabilities of users in a webinar, large class, private meeting, or other event where you want stricter management. These options are found via the icon of a shield with a lock in it in the lower right of the screen during a call.

The host’s options include controlling whether participants can share their screens, send chat messages, and activate their mic or camera. During breakout rooms, the host can also control these options on a room-by-room basis (so you could prevent screen-sharing during the main call, but allow it in the breakout rooms, for example). You can also turn “Quick Access” mode on and off; turning this mode off means anyone who has not been specifically invited to the call must request access before joining.
Host controls are also available through the settings menu.
Video
If you would like to see these features demonstrated, we have created the following video, which also appears on the CLT YouTube channel. Note that some menus may look different due to updates to Meet.


